The Restaurant Log In page may be used as the log in page for restaurant staff Users of Skyware once they have entered into the system, (after their initial log in), enabling a quick and efficient entry into the Skyware POS software section. It is recommended that the Restaurant Log In screen is bookmarked for staff to use as the log in screen, rather than the usual Skyware Log In screen.
However, the Restaurant Log in page may also be reached through the regular Skyware screen at any time, using the POS Main Menu.
To reach this screen select Point of Sale (POS) => from the Other section of the Full Menu, which will open the POS Main Menu, then click on the command Create/Open Check at the top of the Checks section.
Click the icon on the left, or the breadcrumb words "Full Menu" on the top right of the screen to open the Full menu.
 OR
OR OR
OR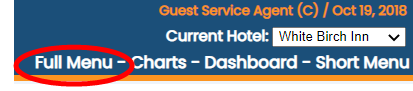
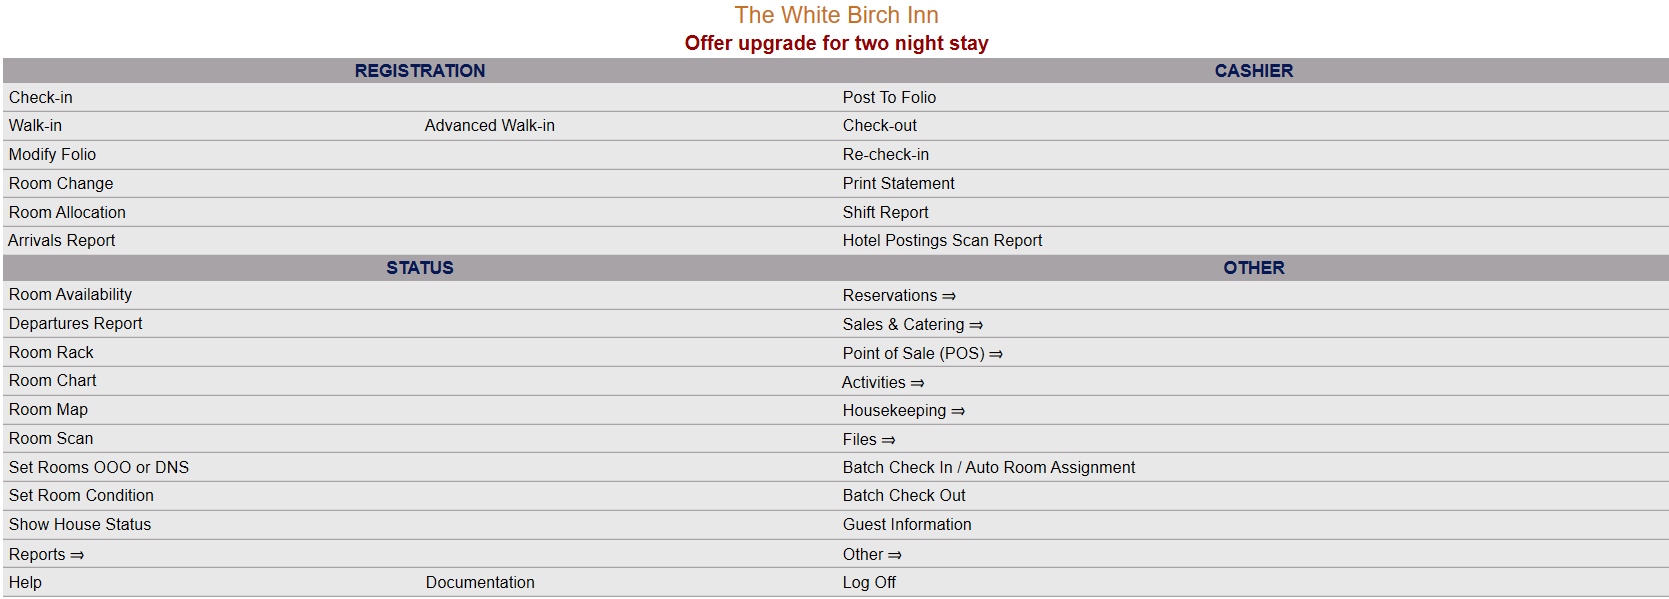
This will display the Full menu in a tabular form, with four sections, Registration, Status, Cashier and Other.
 OR
OR 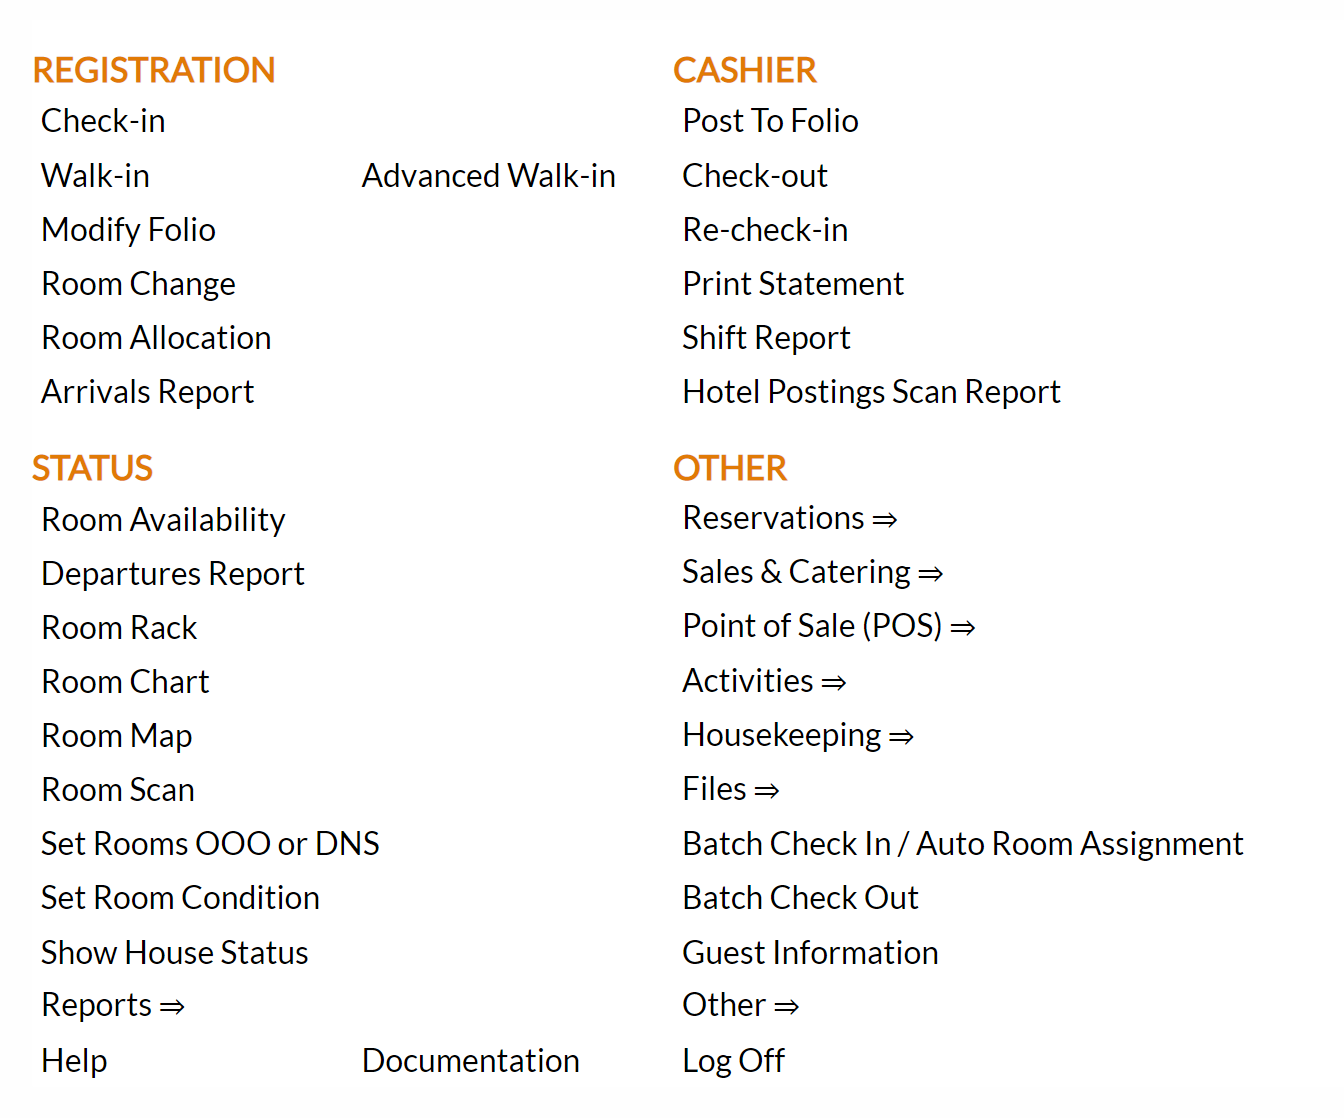
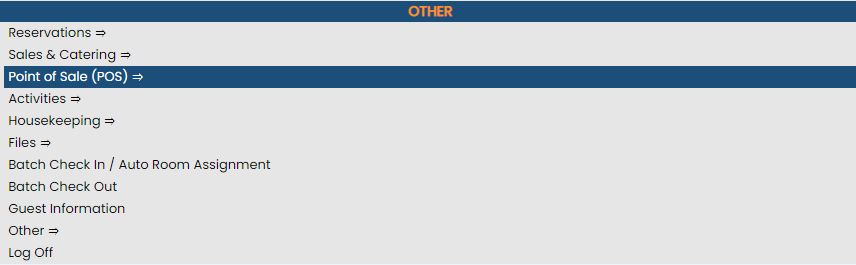
The section on the bottom right is the Other area.
Select Point of Sale (POS) => from the Other Section:
 OR
OR 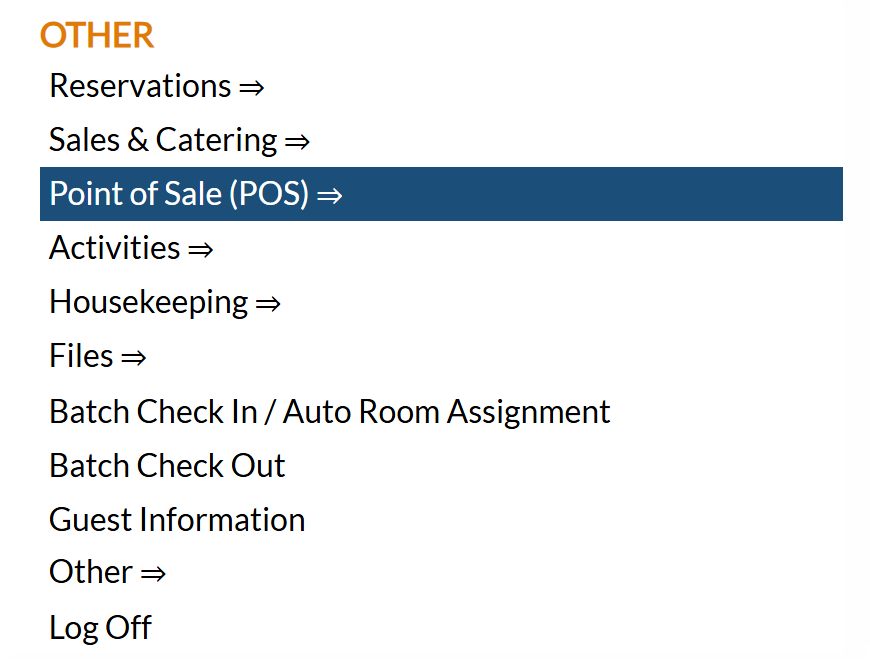
This will open the POS Main Menu, which has four categories: Checks, Reports, Kitchen and Other; however the Other Category does not currently contain any commands.
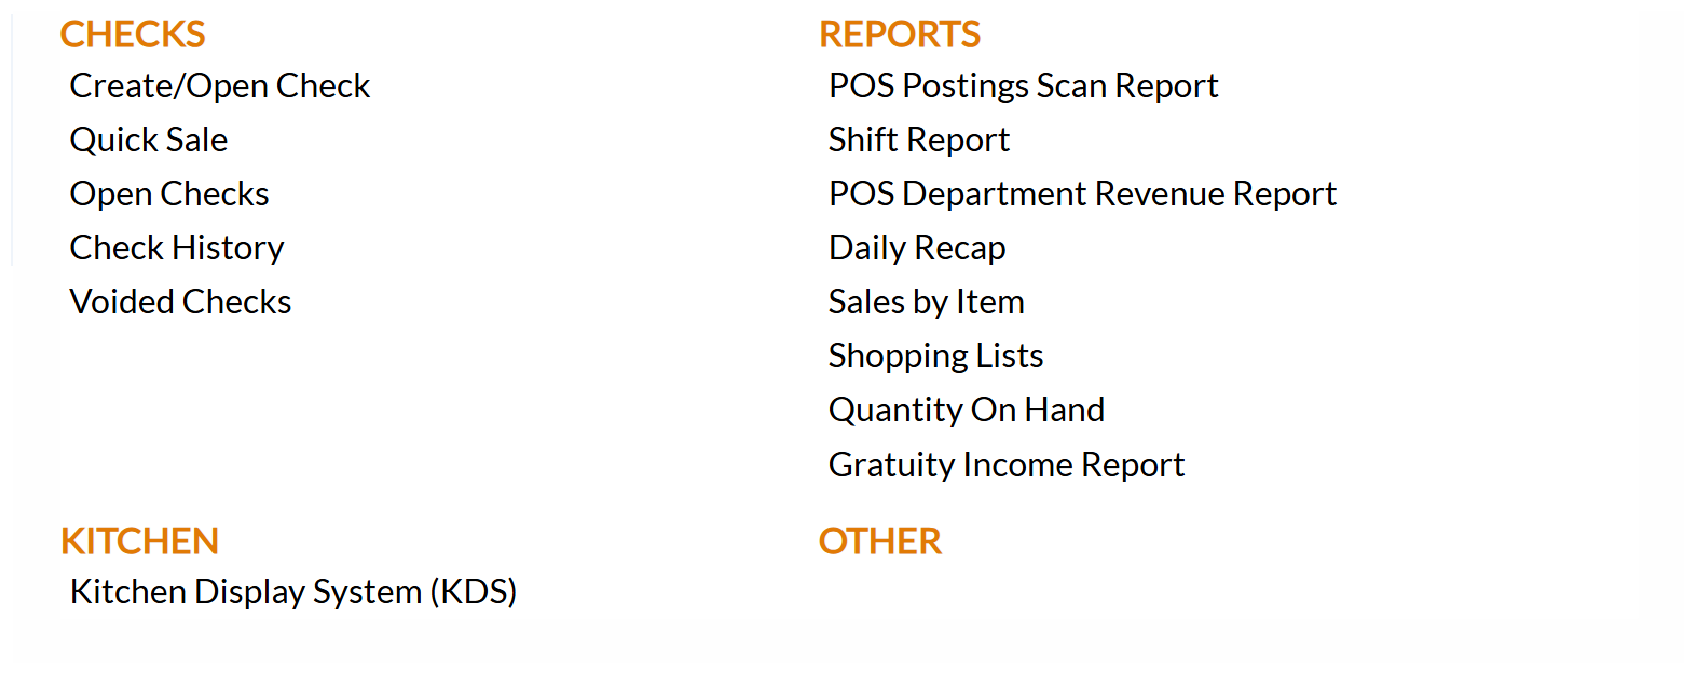
Select Create/Open Check from the Checks section:
 OR
OR 
Note: The Point of Sale (POS) => command in the Configuration area of the Manager's Screen will open the POS Configuration Menu, rather than the POS Menu. The similar commands in different menus open DIFFERENT screens.
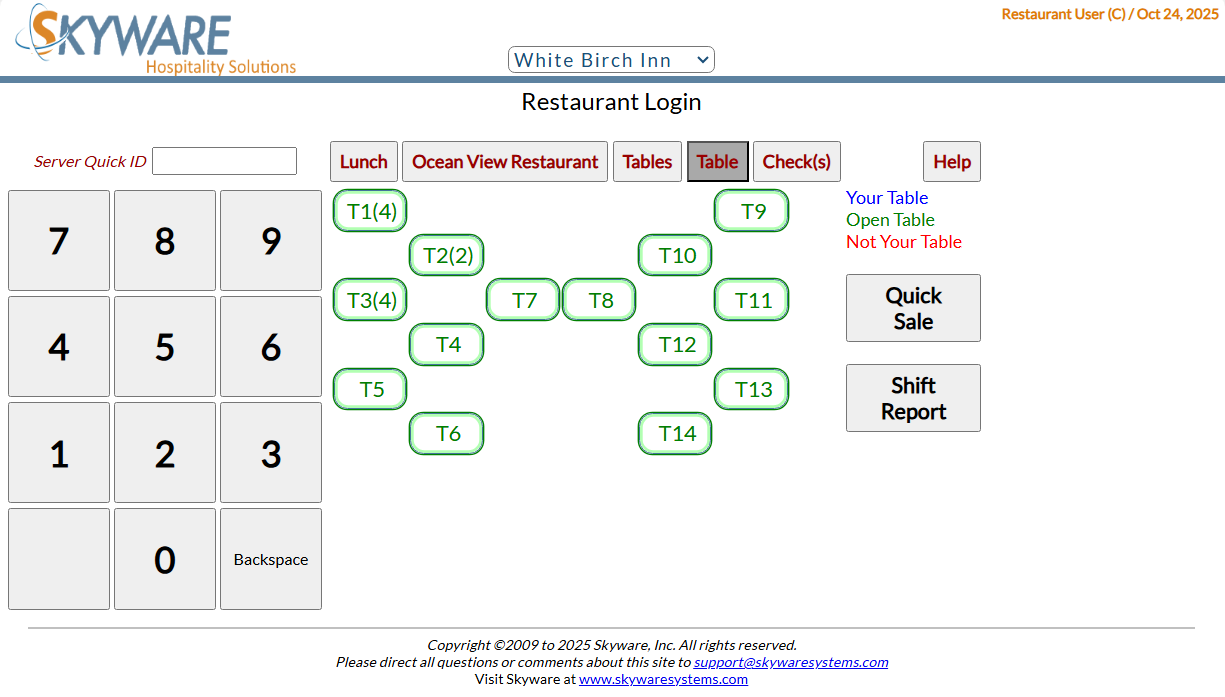
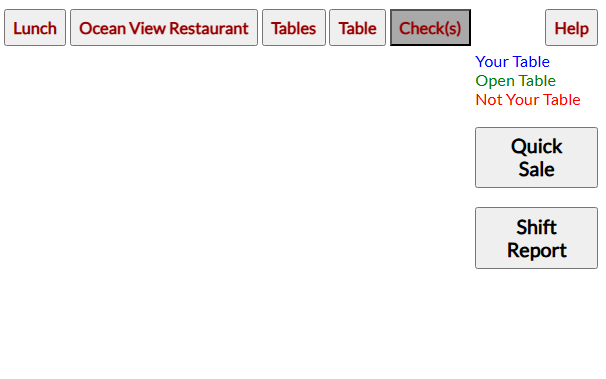
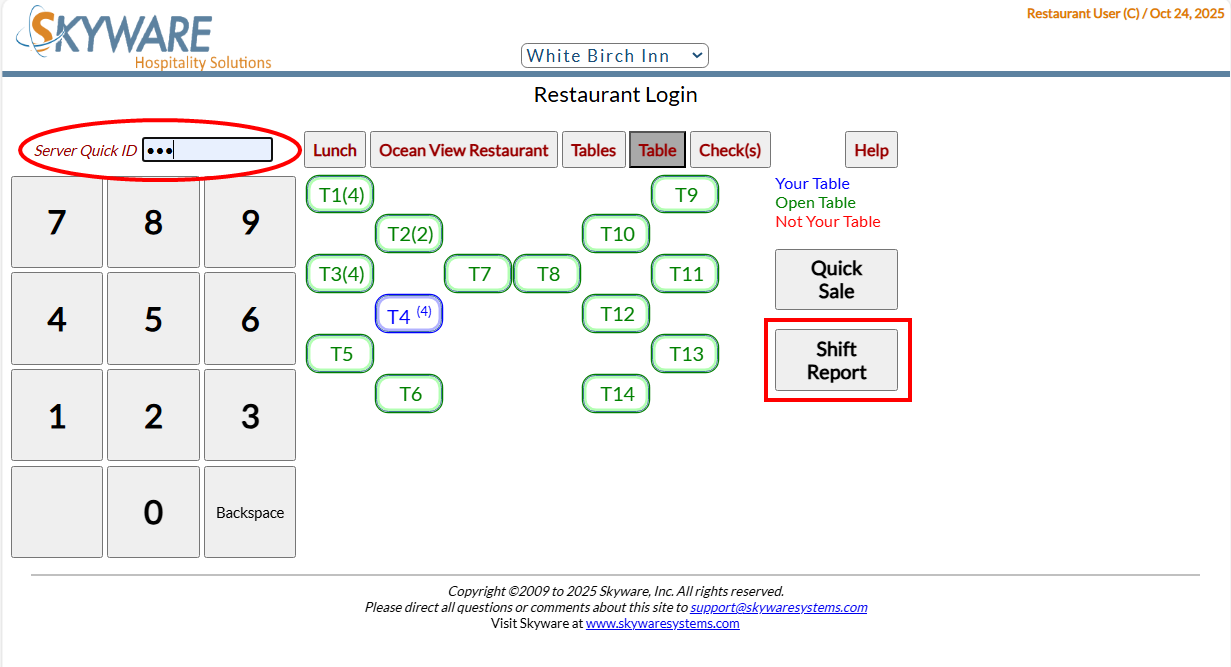
When accessed, the Restaurant Log In page will open, automatically displaying the "Table" field of service option, and keypad for entering the Server Quick ID.
This start page has several areas that only become live AFTER log in. If changes are attempted without user ID being entered the screen will revert back to the original with the red banner A Quick ID is required!
Type the User number into the Server Quick ID log in field to make the rest of the screen live.
This can be done using the keyboard, or by using the keypad on the screen.
Note: service options can also be specified on the Restaurant Check screen, after a check has been opened.

The options for service are across the top tool bar and the specific contents (such as each location name) are dependent on the property.
These include:
The available options for checks are displayed by color with green indicating available.

If the server selects a table, the table will no longer be green, changing to blue. Blue indicates it is your table (associated with the Quick ID used) , and no longer available to other staff.

Conversely, when opening the Restaurant Log In screen, if a table is red rather than green (available) or blue (yours), this table is being served by someone else and is not available to open a check at.

Checks will be shown with the check number, table associated and server name contained in the field when this button is selected. The check details will be in blue (associated with the Server quick ID entered) or red (not the currently logged in server).
 OR
OR
(Note: If there are no checks currently open the field area will be empty).
Clicking the Help button will open a new, separate tab displaying this SkyHelp topic ("Point of Sale (POS) Restaurant Log in page") for you to view alongside the Restaurant Log In screen, allowing you to work through the options on the screen following the help guidelines if wished.
Note: The complete Help file is available for searching once any topic in it has been opened, if you need assistance with something other than the Restaurant Log In screen.

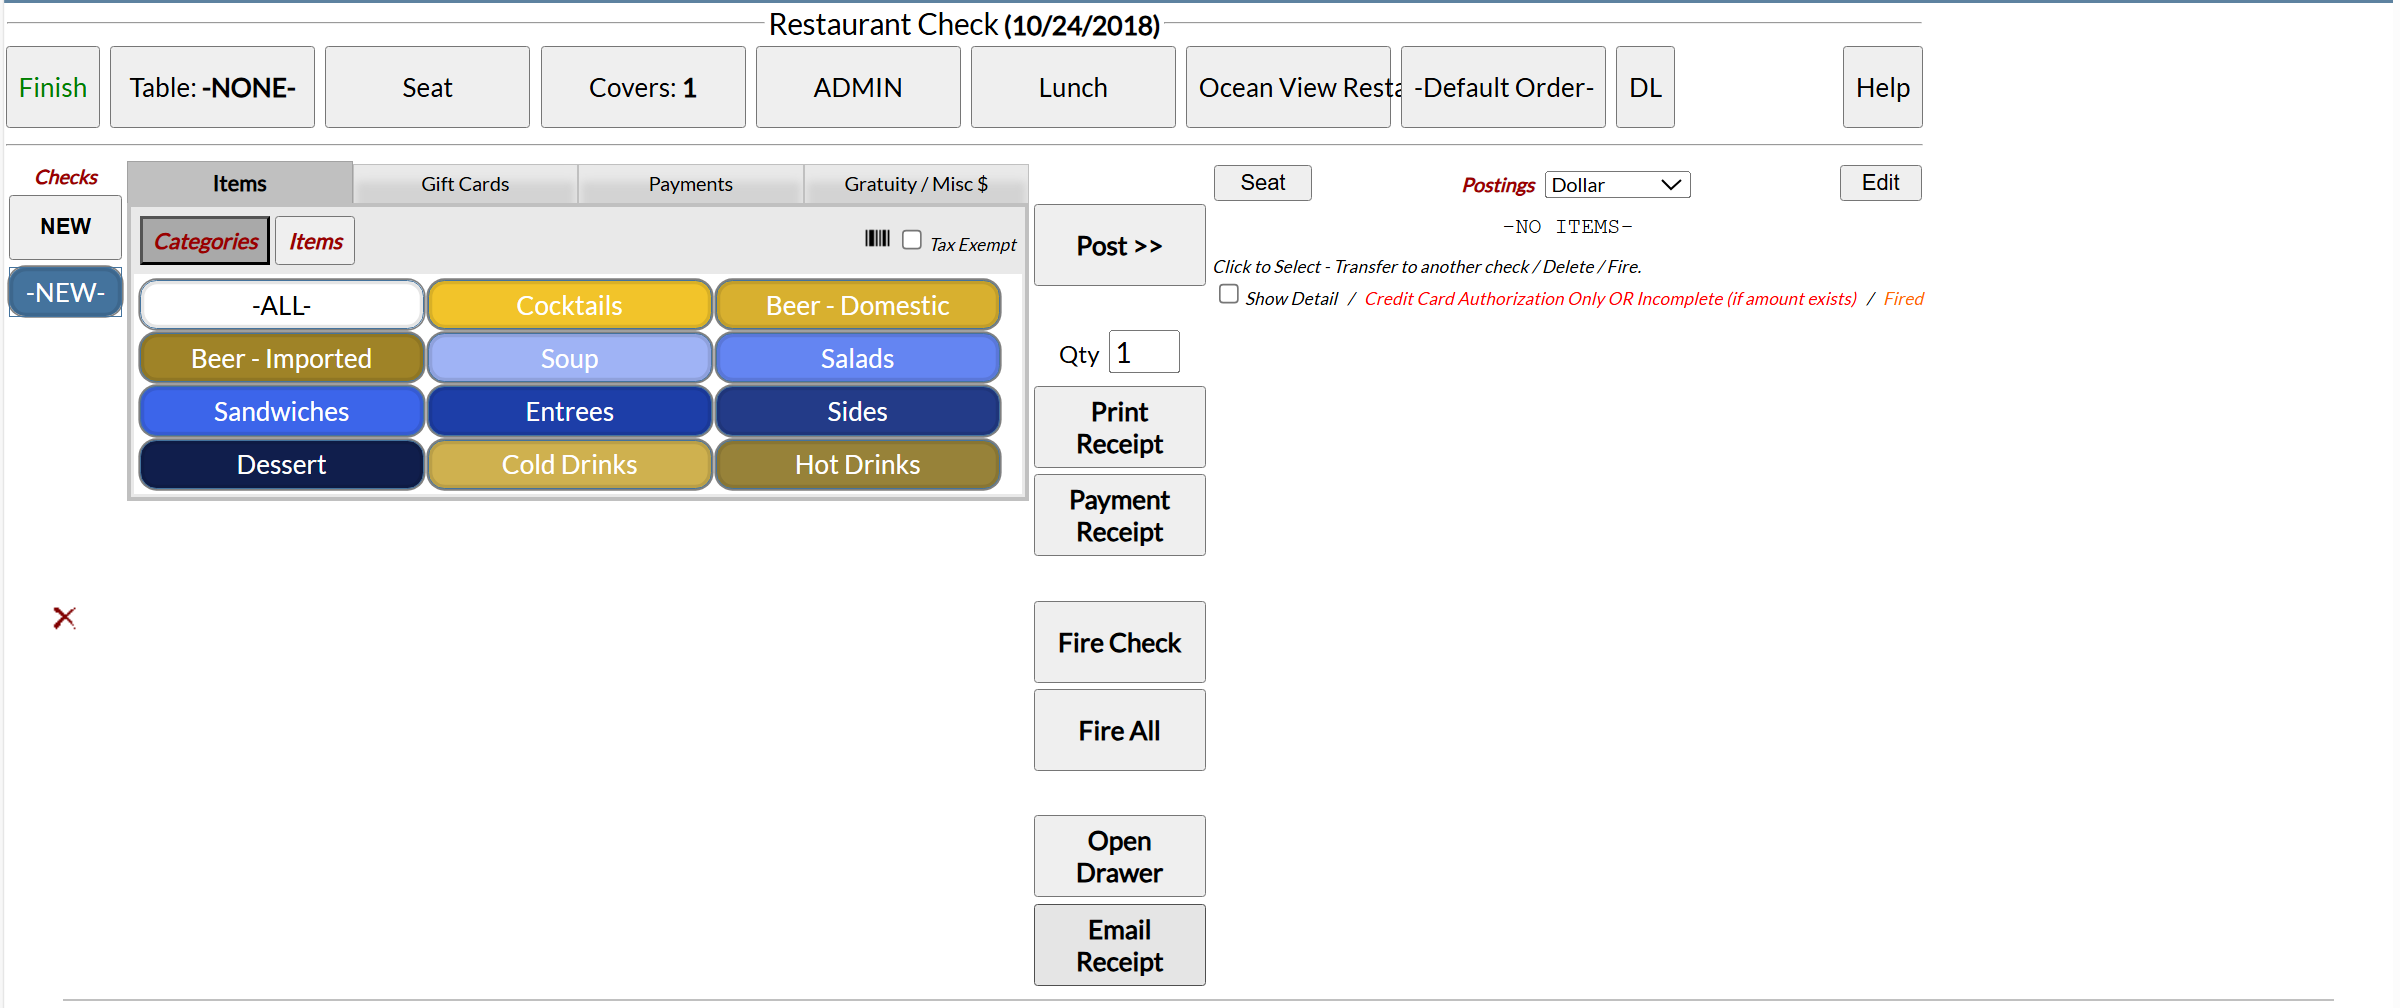
Allows you to go directly to the Restaurant Check screen where menu order information, number of customers on the check, and other information is added to an open restaurant check.
This option is useful for cafe counters or bar systems where table assignments or meal period selections are not required.
Please see our Help Topic Create a Quick Sale Check for more details.
Once the service options have been specified, the User can click on any of the available table options or the Quick Sale button to open a check. Clicking on an available table will open a new check for that table, and clicking on a table labeled as yours will open the current check for that table. In both cases, this opens the Restaurant Check screen where menu order information, number of customers at a table, and other information is added to the open restaurant check. (For more details see How to Open a Check, Create or Open a Check and Modify an Open Check).
Note: Clicking on a table which is being served by someone else, will result in an error message rather than the opening of the restaurant check screen.
The Restaurant Log In screen can now also be used to run and print a POS Shift Report.
Note: This is different to a general (PMS) Shift Report, which may be generated via the command in the Cashier section of the Full Menu.
As with all the other screen options on the page, a Quick ID is first required. Once entered, the Shift Report button, located under the Quick Check button, can be used to generate a copy of the POS Shift Report.
When the Shift Report button is clicked, a new tab will open. A message reading "Closing in...." will appear, beginning at 7 seconds and counting down to zero.

A Print PDF window will also appear, allowing you to print the POS Shift Report.

Note: This window will only appear while the countdown is ongoing. Once the countdown has ended, the window will close and return you to the restaurant log in screen. You must press the print button BEFORE the 7 seconds has elapsed to print the generated POS Shift Report.
Date Updated November 06, 2025


